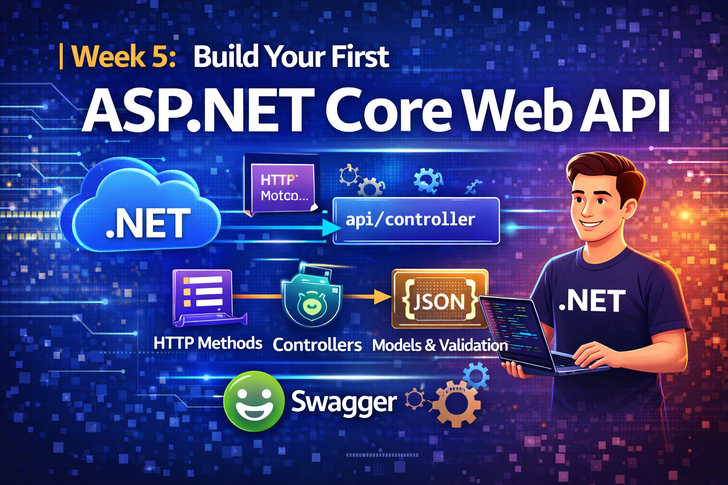
Modern applications depend heavily on APIs—from mobile apps to single-page web applications and microservices.
ASP.NET Core makes building fast, secure, and scalable Web APIs simple and developer-friendly.
In this article, you’ll build your first ASP.NET Core Web API from scratch, understand how it works, and learn best practices used in real-world projects.
By the end of this post, you will:
Create a REST API using ASP.NET Core
Understand controllers, routes, and HTTP methods
Test APIs using Swagger
Follow clean API design principles
What Is an ASP.NET Core Web API?
An ASP.NET Core Web API is a backend service that:
Exposes endpoints over HTTP
Uses JSON as data format
Follows REST principles
Can be consumed by frontend apps, mobile apps, or other services
Typical API Use Cases
User authentication
CRUD operations
Mobile app backend
Microservices communication
Step 1: Create a New Web API Project
Run the following command:
dotnet new webapi -n FirstWebApi
cd FirstWebApi
dotnet run
Once started, open your browser and navigate to:
https://localhost:5001/swagger
🎉 Congratulations! Your API is already running.
Step 2: Understanding Project Structure
FirstWebApi/
│
├── Controllers/
│   └── WeatherForecastController.cs
│
├── Program.cs
├── appsettings.json
└── FirstWebApi.csproj
Key Files Explained
| File             | Purpose                  |
| ---------------- | ------------------------ |
| Program.cs       | App startup & middleware |
| Controllers      | API endpoints            |
| appsettings.json | Configuration            |
| Swagger          | API documentation        |
Step 3: Understanding Controllers & Routing
Sample Controller
[ApiController]
[Route("api/[controller]")]
public class ProductsController : ControllerBase
{
    [HttpGet]
    public IActionResult GetAll()
    {
        return Ok(new[] { "Laptop", "Phone", "Tablet" });
    }
}